In this lesson, we learnt some paintover techniques that can be applied to 3D models in Photoshop. This is quicker than adding textures via UV mapping.
We were given the 3D rendered image and the texture to apply to it. We had to make the texture fit the model by selecting relevant parts and using "skew" and "warp" to get them to look realistic.
Here are the steps I took.


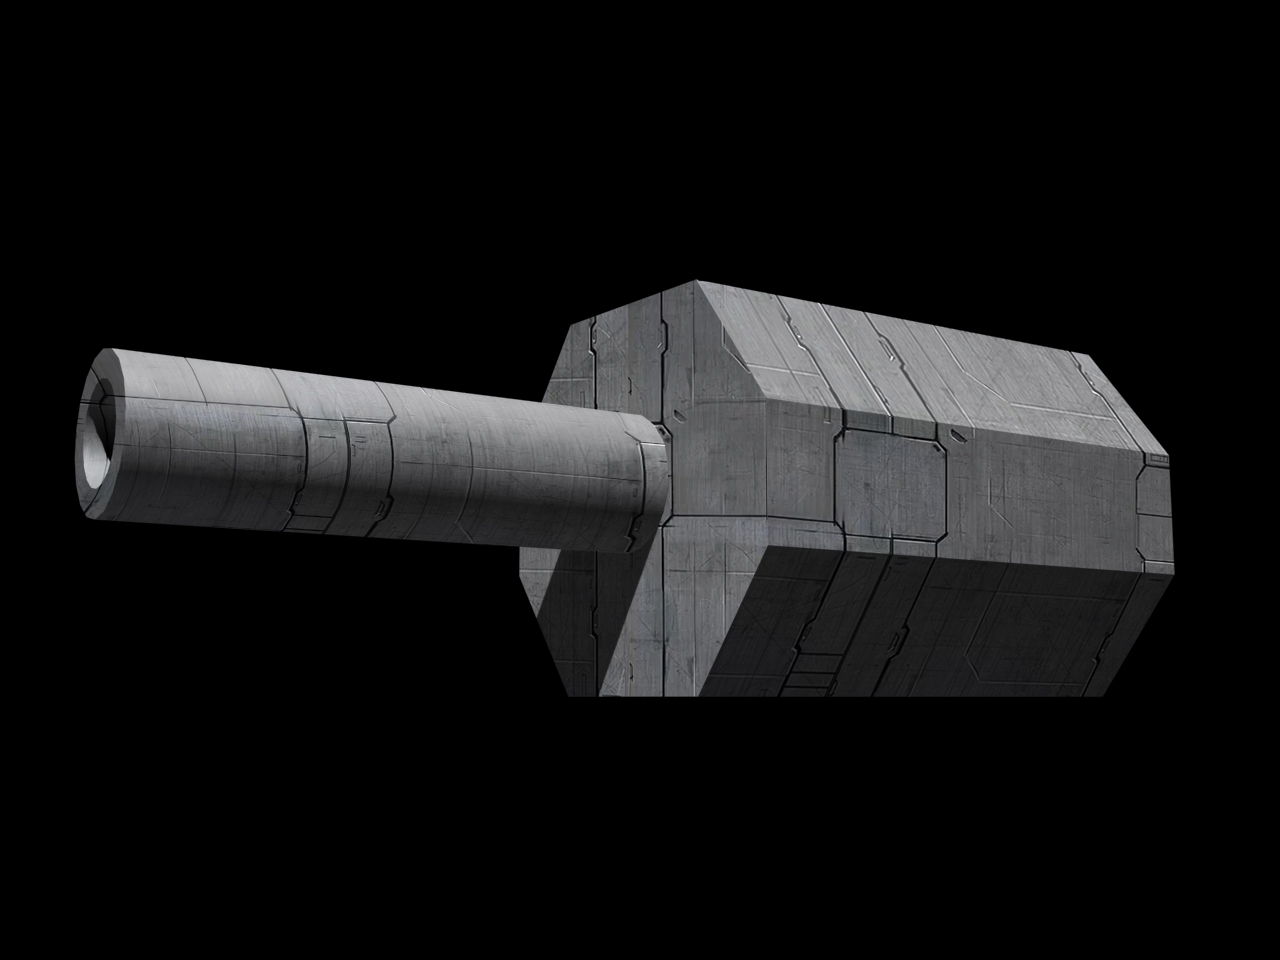
After this, we were asked to paint over this a bit by adding some logos and highlights onto the model. This is what I came up with.

There texture on the side panels fit well, but the other two could be better. The 2nd one could be skewed more to fit that side better and the texture on the barrel could be warped better too. The shine, using the dodge tool, looks good on the body but on the barrel it could be more prominent. I added a slight green overlay to the image which I think works well. I struggled with the logos and lettering for the model; mech designs are a weakness of mine. I was not sure how to make it look better and could not find a lot of relevant references for the lettering. In future, when working on something I am not familiar with, I will spend more time doing research. Overall I feel that this is halfway towards where it should be.
No comments:
Post a Comment